
NANO / INSTRUCTIONS & FITTING
A little guidance. Ready for every day.
Learn how to access your cards and carry cash, then find step-by-step help with changing attachments, fitting an AirTag or setting up your NANO Key Case.
THE EVERYDAY ESSENTIALS
Get to know your NANO.
A few simple movements. Everything close to hand.
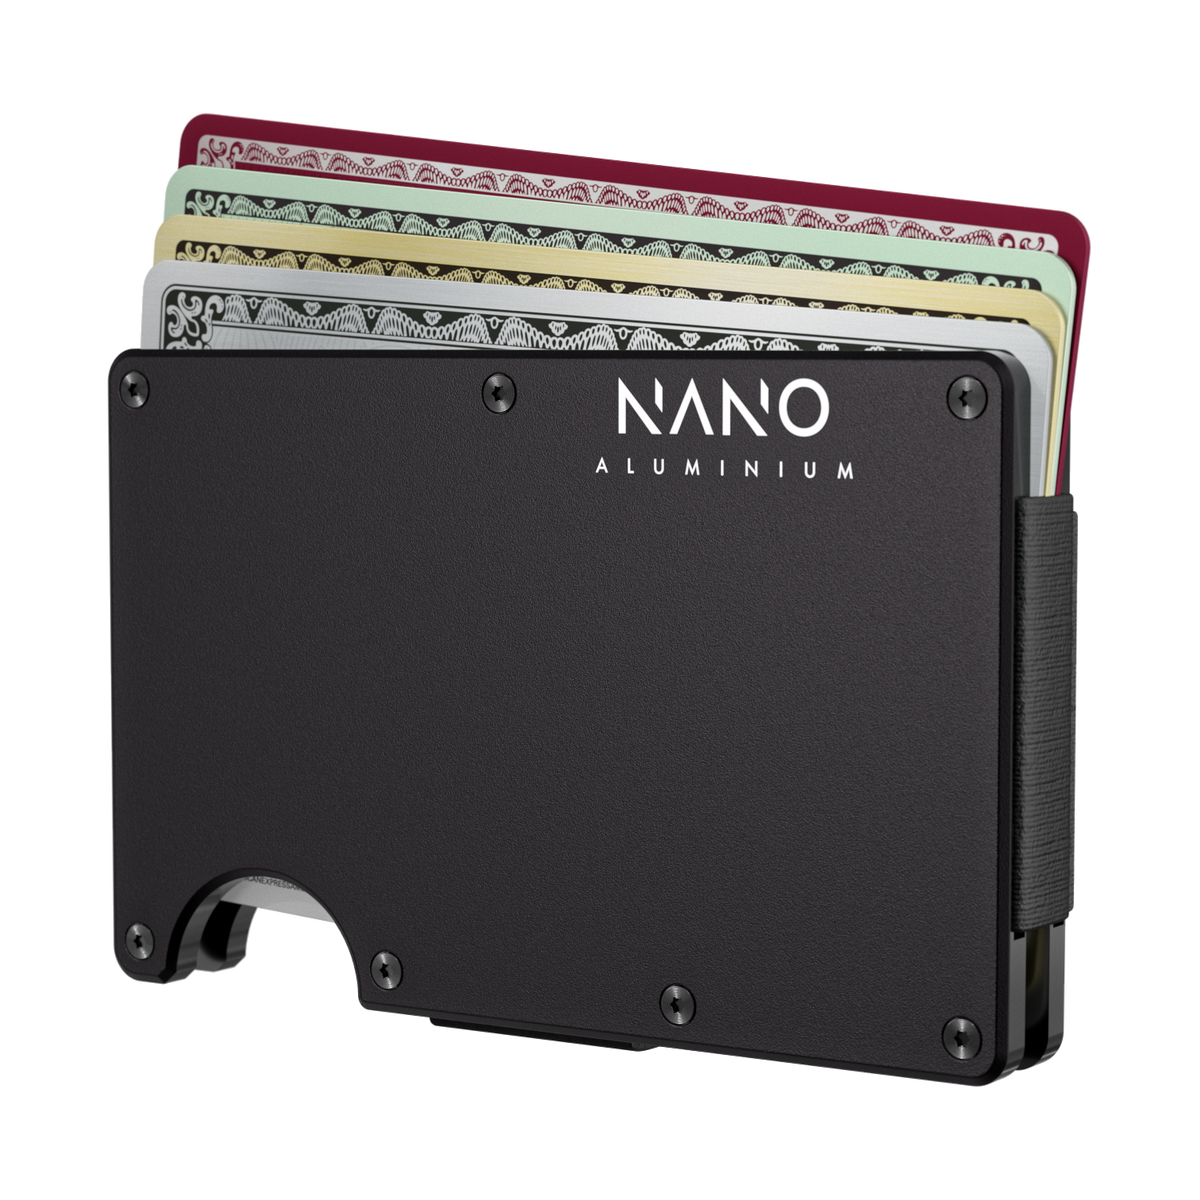

Access your cards
- Hold your wallet. Hold it in your right hand, with the card opening facing upwards.
- Raise the cards. With your left hand, gently push the cards upwards through the thumb slot. They will emerge together from one side of the opening.
- Fan and select. Using your left thumb and index finger, gently fan the raised cards so they are staggered by approximately 1–2 cm. This lets you see each card and slide out the one you need.
- Return your card. Push the remaining cards up slightly, slide your card back into the stack, then push the cards neatly into the wallet.
The movement may feel different at first. With a little practice, fanning and selecting a card becomes familiar.
Use your Cash Strap
The Cash Strap is best suited to carrying a small number of notes while keeping your wallet slim.
- Lift the plate gently. Raise the bottom edge of the Cash Strap plate by approximately 2–3 mm, just enough to slide your notes underneath.
- Fold your notes three times. Keep them neatly folded for a compact fit.
- Slide them centrally beneath the plate. The elastic expands to hold your notes securely in place.
Use your Money Clip
- Fold your notes two or three times, depending on their length and your preference.
- Slide them beneath the Money Clip. Keep the stack neatly aligned against the wallet.
The spring steel holds your notes securely while allowing you to remove individual notes as needed.
Use your Coin & Key Tray
- Position your tray. Slide it into the back of your wallet, behind your bank cards, with the open side facing the back plate. Your cards sit in front of the tray.
- Access your coins or key. Turn the wallet over so the money clip or cash strap side faces upwards. Keep it level as you slide the tray out, so the contents stay in the tray. Slide it fully back in when finished.
- Take out a card. With the front of your wallet facing upwards, rest your index finger over the top edge of the tray to hold it in place. Slide out the card you need, leaving the tray inside the wallet.
Your AirTag wallet, on arrival
Your AirTag wallet arrives with the matching Original Cash Strap or Money Clip fitted. The AirTag attachment and a T5 Torx driver are supplied separately in the same order.
This lets you use the regular wallet straight away and gives you easier access to the holder when installing your AirTag. Apple AirTag is not included.
01 / FIND YOUR GUIDE
What would you like to fit?
Choose your new attachment. Next, tell us what is fitted to your wallet now.
Fit your AirTag Cash Strap

YOUR WALLET. YOUR WAY.
Fit your AirTag Cash Strap
Install your AirTag in its holder while the attachment is off the wallet. Then fit the attachment and keep your original one for days when you prefer to carry without AirTag.
Apple AirTag is sold separately.
Before you begin
- Remove all cards and cash, then work on a clear surface with a soft cloth underneath your wallet.
- Have a T5 Torx driver and a small container ready for the screws.
- Take a photo of the back of your wallet before you begin. It is a useful reference when putting everything back together.
Remove your current attachment
Select the attachment currently fitted to your wallet above to see the relevant removal instructions.
AirTag Cash Strap
- Turn your empty wallet rear-side up. Using a T5 Torx driver, undo all seven screws in the rear cover plate and set them aside.
- Lift the rear cover plate away from the wallet chassis. Keep the parts together and note their positions.
- Slide the elastic and AirTag Cash Strap off the removed rear cover plate. Keep the attachment if you would like to use it again.
AirTag Money Clip
- Turn your empty wallet rear-side up. Using a T5 Torx driver, undo all seven screws in the rear cover plate and set them aside.
- Lift the rear cover plate away from the wallet chassis. Keep the parts together and note their positions.
- The AirTag Money Clip sits in a small recess between the rear cover plate and the wallet chassis. It comes free when the plate is removed, so keep hold of it as you lift the plate away.
Cash Strap
- Turn your empty wallet rear-side up. Using a T5 Torx driver, undo all seven screws in the rear cover plate and set them aside.
- Lift the rear cover plate away from the wallet chassis. Keep the parts together and note their positions.
- Slide the elastic and Cash Strap off the removed rear cover plate. Keep the attachment if you would like to use it again.
Money Clip
- Turn your empty wallet rear-side up. Using a T5 Torx driver, undo all seven screws in the rear cover plate and set them aside.
- Lift the rear cover plate away from the wallet chassis. Keep the parts together and note their positions.
- The Money Clip sits in a small recess between the rear cover plate and the wallet chassis. It comes free when the plate is removed, so keep hold of it as you lift the plate away.
Fit AirTag into its holder
- With the attachment off your wallet, use your T5 Torx driver to undo the four screws on the underside of the AirTag holder.
- Open the holder and place your AirTag inside, with its metal face visible as shown in the image above.
- Refit the holder’s back and all four screws. Tighten gently until snug.
These are the holder’s screws, separate from the seven screws that fasten the wallet’s rear cover plate.
Fit your new attachment
- Slide the elastic and AirTag Cash Strap onto the rear cover plate, with the strap plate facing outwards. Use the rear-view image above to check its orientation.
- Set the rear cover plate back onto the wallet chassis, keeping the elastic correctly positioned and the screw holes aligned.
- Refit all seven rear cover screws. Tighten them gently until snug, without forcing or overtightening them.
Ready for every day
- Check that the rear cover plate sits evenly and the attachment is held firmly in place.
- Return your cards and check that they slide in and out as usual.
- Add your folded notes and make sure they sit neatly beneath the strap or clip.
If anything does not sit correctly, stop and contact us for help before using your wallet.
Fit your AirTag Money Clip

YOUR WALLET. YOUR WAY.
Fit your AirTag Money Clip
Install your AirTag in its holder while the attachment is off the wallet. Then fit the attachment and keep your original one for days when you prefer to carry without AirTag.
Apple AirTag is sold separately.
Before you begin
- Remove all cards and cash, then work on a clear surface with a soft cloth underneath your wallet.
- Have a T5 Torx driver and a small container ready for the screws.
- Take a photo of the back of your wallet before you begin. It is a useful reference when putting everything back together.
Remove your current attachment
Select the attachment currently fitted to your wallet above to see the relevant removal instructions.
AirTag Cash Strap
- Turn your empty wallet rear-side up. Using a T5 Torx driver, undo all seven screws in the rear cover plate and set them aside.
- Lift the rear cover plate away from the wallet chassis. Keep the parts together and note their positions.
- Slide the elastic and AirTag Cash Strap off the removed rear cover plate. Keep the attachment if you would like to use it again.
AirTag Money Clip
- Turn your empty wallet rear-side up. Using a T5 Torx driver, undo all seven screws in the rear cover plate and set them aside.
- Lift the rear cover plate away from the wallet chassis. Keep the parts together and note their positions.
- The AirTag Money Clip sits in a small recess between the rear cover plate and the wallet chassis. It comes free when the plate is removed, so keep hold of it as you lift the plate away.
Cash Strap
- Turn your empty wallet rear-side up. Using a T5 Torx driver, undo all seven screws in the rear cover plate and set them aside.
- Lift the rear cover plate away from the wallet chassis. Keep the parts together and note their positions.
- Slide the elastic and Cash Strap off the removed rear cover plate. Keep the attachment if you would like to use it again.
Money Clip
- Turn your empty wallet rear-side up. Using a T5 Torx driver, undo all seven screws in the rear cover plate and set them aside.
- Lift the rear cover plate away from the wallet chassis. Keep the parts together and note their positions.
- The Money Clip sits in a small recess between the rear cover plate and the wallet chassis. It comes free when the plate is removed, so keep hold of it as you lift the plate away.
Fit AirTag into its holder
- With the attachment off your wallet, use your T5 Torx driver to undo the four screws on the underside of the AirTag holder.
- Open the holder and place your AirTag inside, with its metal face visible as shown in the image above.
- Refit the holder’s back and all four screws. Tighten gently until snug.
These are the holder’s screws, separate from the seven screws that fasten the wallet’s rear cover plate.
Fit your new attachment
- Position the base of the AirTag Money Clip in the small recess between the rear cover plate and the wallet chassis. The clip should face outwards, as shown in the rear-view image above.
- Hold the clip in place and refit the rear cover plate, lining up the screw holes.
- Refit all seven rear cover screws. Tighten them gently until snug, without forcing or overtightening them.
Ready for every day
- Check that the rear cover plate sits evenly and the attachment is held firmly in place.
- Return your cards and check that they slide in and out as usual.
- Add your folded notes and make sure they sit neatly beneath the strap or clip.
If anything does not sit correctly, stop and contact us for help before using your wallet.
Fit your Cash Strap

YOUR WALLET. YOUR WAY.
Fit your Cash Strap
Change the way you carry cash. Follow the removal instructions for your current attachment, then fit your Cash Strap.
Before you begin
- Remove all cards and cash, then work on a clear surface with a soft cloth underneath your wallet.
- Have a T5 Torx driver and a small container ready for the screws.
- Take a photo of the back of your wallet before you begin. It is a useful reference when putting everything back together.
Remove your current attachment
Select the attachment currently fitted to your wallet above to see the relevant removal instructions.
AirTag Cash Strap
- Turn your empty wallet rear-side up. Using a T5 Torx driver, undo all seven screws in the rear cover plate and set them aside.
- Lift the rear cover plate away from the wallet chassis. Keep the parts together and note their positions.
- Slide the elastic and AirTag Cash Strap off the removed rear cover plate. Keep the attachment if you would like to use it again.
AirTag Money Clip
- Turn your empty wallet rear-side up. Using a T5 Torx driver, undo all seven screws in the rear cover plate and set them aside.
- Lift the rear cover plate away from the wallet chassis. Keep the parts together and note their positions.
- The AirTag Money Clip sits in a small recess between the rear cover plate and the wallet chassis. It comes free when the plate is removed, so keep hold of it as you lift the plate away.
Cash Strap
- Turn your empty wallet rear-side up. Using a T5 Torx driver, undo all seven screws in the rear cover plate and set them aside.
- Lift the rear cover plate away from the wallet chassis. Keep the parts together and note their positions.
- Slide the elastic and Cash Strap off the removed rear cover plate. Keep the attachment if you would like to use it again.
Money Clip
- Turn your empty wallet rear-side up. Using a T5 Torx driver, undo all seven screws in the rear cover plate and set them aside.
- Lift the rear cover plate away from the wallet chassis. Keep the parts together and note their positions.
- The Money Clip sits in a small recess between the rear cover plate and the wallet chassis. It comes free when the plate is removed, so keep hold of it as you lift the plate away.
Fit your new attachment
- Slide the elastic and Cash Strap onto the rear cover plate, with the strap plate facing outwards. Use the rear-view image above to check its orientation.
- Set the rear cover plate back onto the wallet chassis, keeping the elastic correctly positioned and the screw holes aligned.
- Refit all seven rear cover screws. Tighten them gently until snug, without forcing or overtightening them.
Ready for every day
- Check that the rear cover plate sits evenly and the attachment is held firmly in place.
- Return your cards and check that they slide in and out as usual.
- Add your folded notes and make sure they sit neatly beneath the strap or clip.
If anything does not sit correctly, stop and contact us for help before using your wallet.
Fit your Money Clip

YOUR WALLET. YOUR WAY.
Fit your Money Clip
Change the way you carry cash. Follow the removal instructions for your current attachment, then fit your Money Clip.
Before you begin
- Remove all cards and cash, then work on a clear surface with a soft cloth underneath your wallet.
- Have a T5 Torx driver and a small container ready for the screws.
- Take a photo of the back of your wallet before you begin. It is a useful reference when putting everything back together.
Remove your current attachment
Select the attachment currently fitted to your wallet above to see the relevant removal instructions.
AirTag Cash Strap
- Turn your empty wallet rear-side up. Using a T5 Torx driver, undo all seven screws in the rear cover plate and set them aside.
- Lift the rear cover plate away from the wallet chassis. Keep the parts together and note their positions.
- Slide the elastic and AirTag Cash Strap off the removed rear cover plate. Keep the attachment if you would like to use it again.
AirTag Money Clip
- Turn your empty wallet rear-side up. Using a T5 Torx driver, undo all seven screws in the rear cover plate and set them aside.
- Lift the rear cover plate away from the wallet chassis. Keep the parts together and note their positions.
- The AirTag Money Clip sits in a small recess between the rear cover plate and the wallet chassis. It comes free when the plate is removed, so keep hold of it as you lift the plate away.
Cash Strap
- Turn your empty wallet rear-side up. Using a T5 Torx driver, undo all seven screws in the rear cover plate and set them aside.
- Lift the rear cover plate away from the wallet chassis. Keep the parts together and note their positions.
- Slide the elastic and Cash Strap off the removed rear cover plate. Keep the attachment if you would like to use it again.
Money Clip
- Turn your empty wallet rear-side up. Using a T5 Torx driver, undo all seven screws in the rear cover plate and set them aside.
- Lift the rear cover plate away from the wallet chassis. Keep the parts together and note their positions.
- The Money Clip sits in a small recess between the rear cover plate and the wallet chassis. It comes free when the plate is removed, so keep hold of it as you lift the plate away.
Fit your new attachment
- Position the base of the Money Clip in the small recess between the rear cover plate and the wallet chassis. The clip should face outwards, as shown in the rear-view image above.
- Hold the clip in place and refit the rear cover plate, lining up the screw holes.
- Refit all seven rear cover screws. Tighten them gently until snug, without forcing or overtightening them.
Ready for every day
- Check that the rear cover plate sits evenly and the attachment is held firmly in place.
- Return your cards and check that they slide in and out as usual.
- Add your folded notes and make sure they sit neatly beneath the strap or clip.
If anything does not sit correctly, stop and contact us for help before using your wallet.
A LITTLE MORE HELP
We’re here if you need us.
Not sure which attachment you have? Send us a clear photo of the back of your wallet. We’ll help you identify it and explain the next step.
Contact NANOSet up your NANO Key Case
Holds 2–6 compatible keys, depending on their thickness. Check the compatibility guidance below before fitting your keys.
- Open the case. Use the supplied tool to remove the main screw at the pivot end. Leave the other screws in place.
- Add your keys. Hold the tension plate down with your thumb and slide your keys onto the mounting post. Keep the keys opened out at a right angle to the case while fitting them.
- Secure the case. Align the top plate with the mounting post and refit the screw. Tighten gently until secure. Do not force or overtighten it.
- Check the movement. Fold each key into the case, then open it again. Each key should stay securely held and rotate smoothly. If the keys bind or the case will not close properly, check their position and reduce the number fitted.
Ready for every day
Fold out the key you need for use, then return it to the stack when finished.